
Getting Started
1 Choose Snaps
Plastic or Metal?
Deciding between plastic or metal is simply a personal choice. They’re both machine washable and dryer safe. They will provide a durable, long lasting finish to your projects.
Plastic Snaps:
Size 20 plastic snaps are our most popular fastener. They’re versatile and can handle thick and thin layers of fabric. Made from industrial strength polyacetal resin, they’re strong, can withstand rigorous washing and will never rust. They’re the most popular choice for nappies, sanitary products and bibs. Size 16 plastic snaps are popular for petite dolls clothing. It is smaller and suited to thinner layers of fabric.
Metal Snaps:
Metal snaps provide a stylish finish and are popular for leatherwork and upholstery.
2 Choose Tool
Choose a press. The snaps are very strong and need the force of a press/tool to apply them. In most cases we recommend a Professional Press as they’re easy to operate, durable and multi-function. A Professional Press will allow you to apply plastic snaps, metal snaps, rivets and more. Basic Pliers are an option for those only needing a basic tool for quick fixes and small jobs (they will only apply plastic snaps). For anything substantial we recommend a Professional Press.
Professional Press Options:
We have three professional presses to choose from.
Professional TABLE Press (DK93-KAM) – Designed for commercial use but also suitable for the hobby enthusiast, this press machine will provide a professional finish to any garment. Weighing 5kg, this press is heavy duty and robust.
Professional HANDHELD Press (SA-PRH2) – Robust but also light weight and very portable (weighs 380gm). This press provides a professional finish for your garments and is suitable for hobbyists and professionals. It is an alternative “handheld” version of the Table Press.
Professional STAND-UP/PORTABLE Press (SA-PRP3) – Used in an upright position, pushing down on the lever… the SA-PRP3 is like a miniature version of the Table Press (weighs 580gm). The press can also be mounted to a table or board if desired (optional).
Dies are need for each type of fastener and available separately. For example, if you'd like to use size 20 plastic snaps, you’ll need the Die Set for size 20 plastic snaps. Likewise, if you’re planning to apply metal snaps, you’ll need the corresponding metal snap Die Set.
3 Purchase Starter Kit
To make this easy, we have "Starter Kits" which will ensure you have everything you need to get started. You can always top up with extra snap colours (or sizes/styles) later.
TABLE Press Starter Kit
PORTABLE Press Starter Kit
Press Starter Kit for METAL SNAPS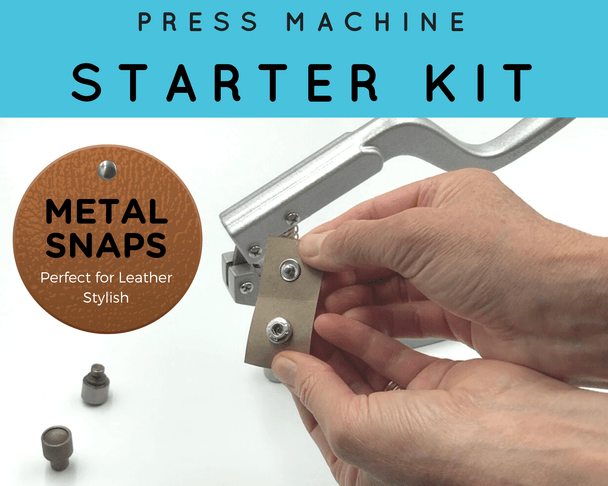
Demonstration Videos